Quickstart
Install Kimchi and run your first coding session in under five minutes.
This guide walks you through installing Kimchi Coding and running your first session. For an introduction to what Kimchi Coding is and how it works, see the Overview.
Prerequisites
You need a Kimchi account. Sign up at app.kimchi.dev if you don't have one.
Install on macOS / Linux
curl -fsSL https://github.com/getkimchi/kimchi/releases/latest/download/install.sh | bashOr via Homebrew (macOS):
brew install getkimchi/tap/kimchiInstall on Windows (WSL)
Kimchi requires WSL (Windows Subsystem for Linux). Open PowerShell as administrator and run:
wsl --installRestart PowerShell when prompted, then open WSL:
wslUpdate your packages:
sudo apt-get updateThen install Kimchi:
curl -fsSL https://github.com/getkimchi/kimchi/releases/latest/download/install.sh | bashClipboard image pasting is disabled by default on WSL because most WSL setups lack a display server. If you have an X server running (e.g. VcXsrv, X410), set
KIMCHI_CLIPBOARD_FORCE=1before launching Kimchi to enable it. See the Kimchi CLI FAQ for details.
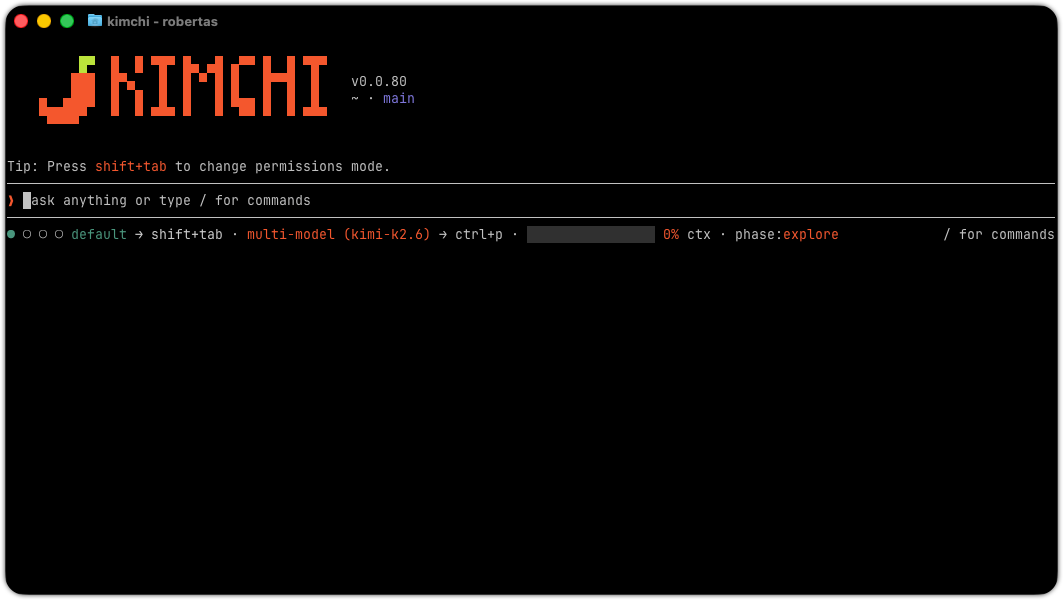
Run your first session
Launch Kimchi Coding:
kimchiOn first launch, the CLI presents a login method selector:
- Use a Kimchi account — opens your browser to authenticate with Kimchi and saves your API key automatically.
- Use a subscription — lets you authenticate with a supported subscription provider (e.g. GitHub Copilot).
Authentication must succeed before the harness continues. If you cancel the login selector, the harness shuts down cleanly. Once authenticated, a session mode picker appears with two options:
- Try a /ferment workflow — the agent breaks your task into phases, self-evaluates its output, and delivers with minimal interruptions.
- Just chat and code — starts the standard chat mode where you describe tasks and the agent handles it. Type
/helpduring a session to see all available keyboard shortcuts and slash commands.
The picker only appears once. After you make a selection (or dismiss it), subsequent launches skip straight to the prompt. You can also type /login in the harness at any time to re-authenticate or switch methods. You can start a Ferment session at any time with the /ferment command for autonomous multi-session projects.
You can also provide an API key manually via the
KIMCHI_API_KEYenvironment variable or by creating one at app.kimchi.dev/settings. This is useful when you want to control the key name or use a specific key for cost attribution.
You can point your existing tool at Kimchi's models without switching to the Kimchi Coding agent. Run
kimchi setup-toolsto auto-configure your tool, or follow the setup recipes for manual configuration. This configures Kimchi Inference access — your tool's UX stays the same, only the model backend changes.
Quick reference
# Install (Homebrew, macOS)
brew install getkimchi/tap/kimchi
# Install (curl, macOS / Linux)
curl -fsSL https://github.com/getkimchi/kimchi/releases/latest/download/install.sh | bash
# Launch the harness
kimchi
# Launch in plan mode (read-only planning)
kimchi --plan
# Launch with a session name
kimchi --name "my task"
# Initial setup (auth, RTK, skills)
kimchi setup
# Update to latest
kimchi update
# Manage resources (hooks, tools, extensions, plugins)
kimchi resources list
# Show version
kimchi --version
# Enable experimental features
kimchi --enable-experimental-features
# Debug mode
kimchi --debug
What's next
Feedback & issues
Use the /bug command during a harness session to open a pre-filled GitHub issue form directly from the prompt:
/bug Something is brokenThe command auto-fills the bug report template with your harness version and any description you provide. In TUI mode it opens your browser; in headless mode it prints the URL to stdout.
You can also file issues manually at github.com/getkimchi/kimchi or ping the team on Discord here.
Kimchi Code is an open source project — contributions are welcome.
Updated about 1 month ago