

Use local Ollama models with Kimchi
Pull a local model with Ollama, let Kimchi discover it automatically, and use it for coding tasks — without spending API credits.
In this tutorial, you'll pull a lightweight local model with Ollama, start Kimchi, and verify that the model is automatically discovered and available for coding tasks. You'll then use it directly from the model picker and as a delegated role in multi-model mode.
This tutorial is intended for those who want to run inference locally. Whether to work offline, reduce API costs where possible, or experiment with open-weight models. It assumes you have:
- Kimchi Coding installed and authenticated; see Getting started if not
- Basic familiarity with the terminal
By the end of this tutorial, you'll be able to:
- Pull and serve a local model with Ollama
- Confirm Kimchi discovers it automatically on startup
- Select it manually from the model picker
- Understand how it fits into Kimchi's multi-model role system
Background
Kimchi probes a locally-running Ollama server on every startup. If Ollama is running and has models installed, they are automatically registered under an ollama provider and appear in the /model picker as ollama/<model-name>. No edits to configuration files are needed. See Local Ollama Models in the TUI reference for full details on the probe, host configuration, and capability detection.
Before you start
Install Ollama from ollama.com if you haven't already. Verify the installation:
ollama --versionPull and serve a local model
Pull a model
Pull a small model to keep the download fast. llama3.2:3b is a good starting point — it's around 2 GB and capable enough for straightforward coding tasks:
ollama pull llama3.2:3bIf you want a larger model with more capability, qwen3:8b is a solid general-purpose choice at around 5 GB.
Start Ollama
Ollama runs as a background daemon on macOS and Linux after installation. Verify it is reachable:
curl http://localhost:11434/api/tagsYou should see a JSON response listing your installed models. If the command fails, start Ollama manually:
ollama serveLeave that terminal open and continue in a new one.
Start Kimchi
Launch Kimchi normally:
kimchiKimchi probes Ollama during startup.
Verify discovery
Once Kimchi is running, confirm the model was discovered by checking models.json:
cat ~/.config/kimchi/harness/models.json | jq '.providers.ollama.models[] | {id, input, reasoning}'You should see your model listed. For llama3.2:3b, it looks like this:
{
  "id": "llama3.2:3b",
  "input": ["text"],
  "reasoning": false
}
For a vision-capable model like llava:13b, the input array includes "image":
{
  "id": "llava:13b",
  "input": ["text", "image"],
  "reasoning": false
}
These fields reflect what the Ollama probe detected from the model's capabilities.
Cost fields are always zero for Ollama models. Local inference is not metered or billed, and Kimchi reports it as such in
models.jsonaccordingly.
Use your Ollama model
Select it manually from the model picker
To switch to your Ollama model for the current session, run /model from the Kimchi prompt and pick it from the list:
/modelYour model appears as ollama/llama3.2:3b (or whichever model you pulled). Selecting it routes all messages in the session to that model.
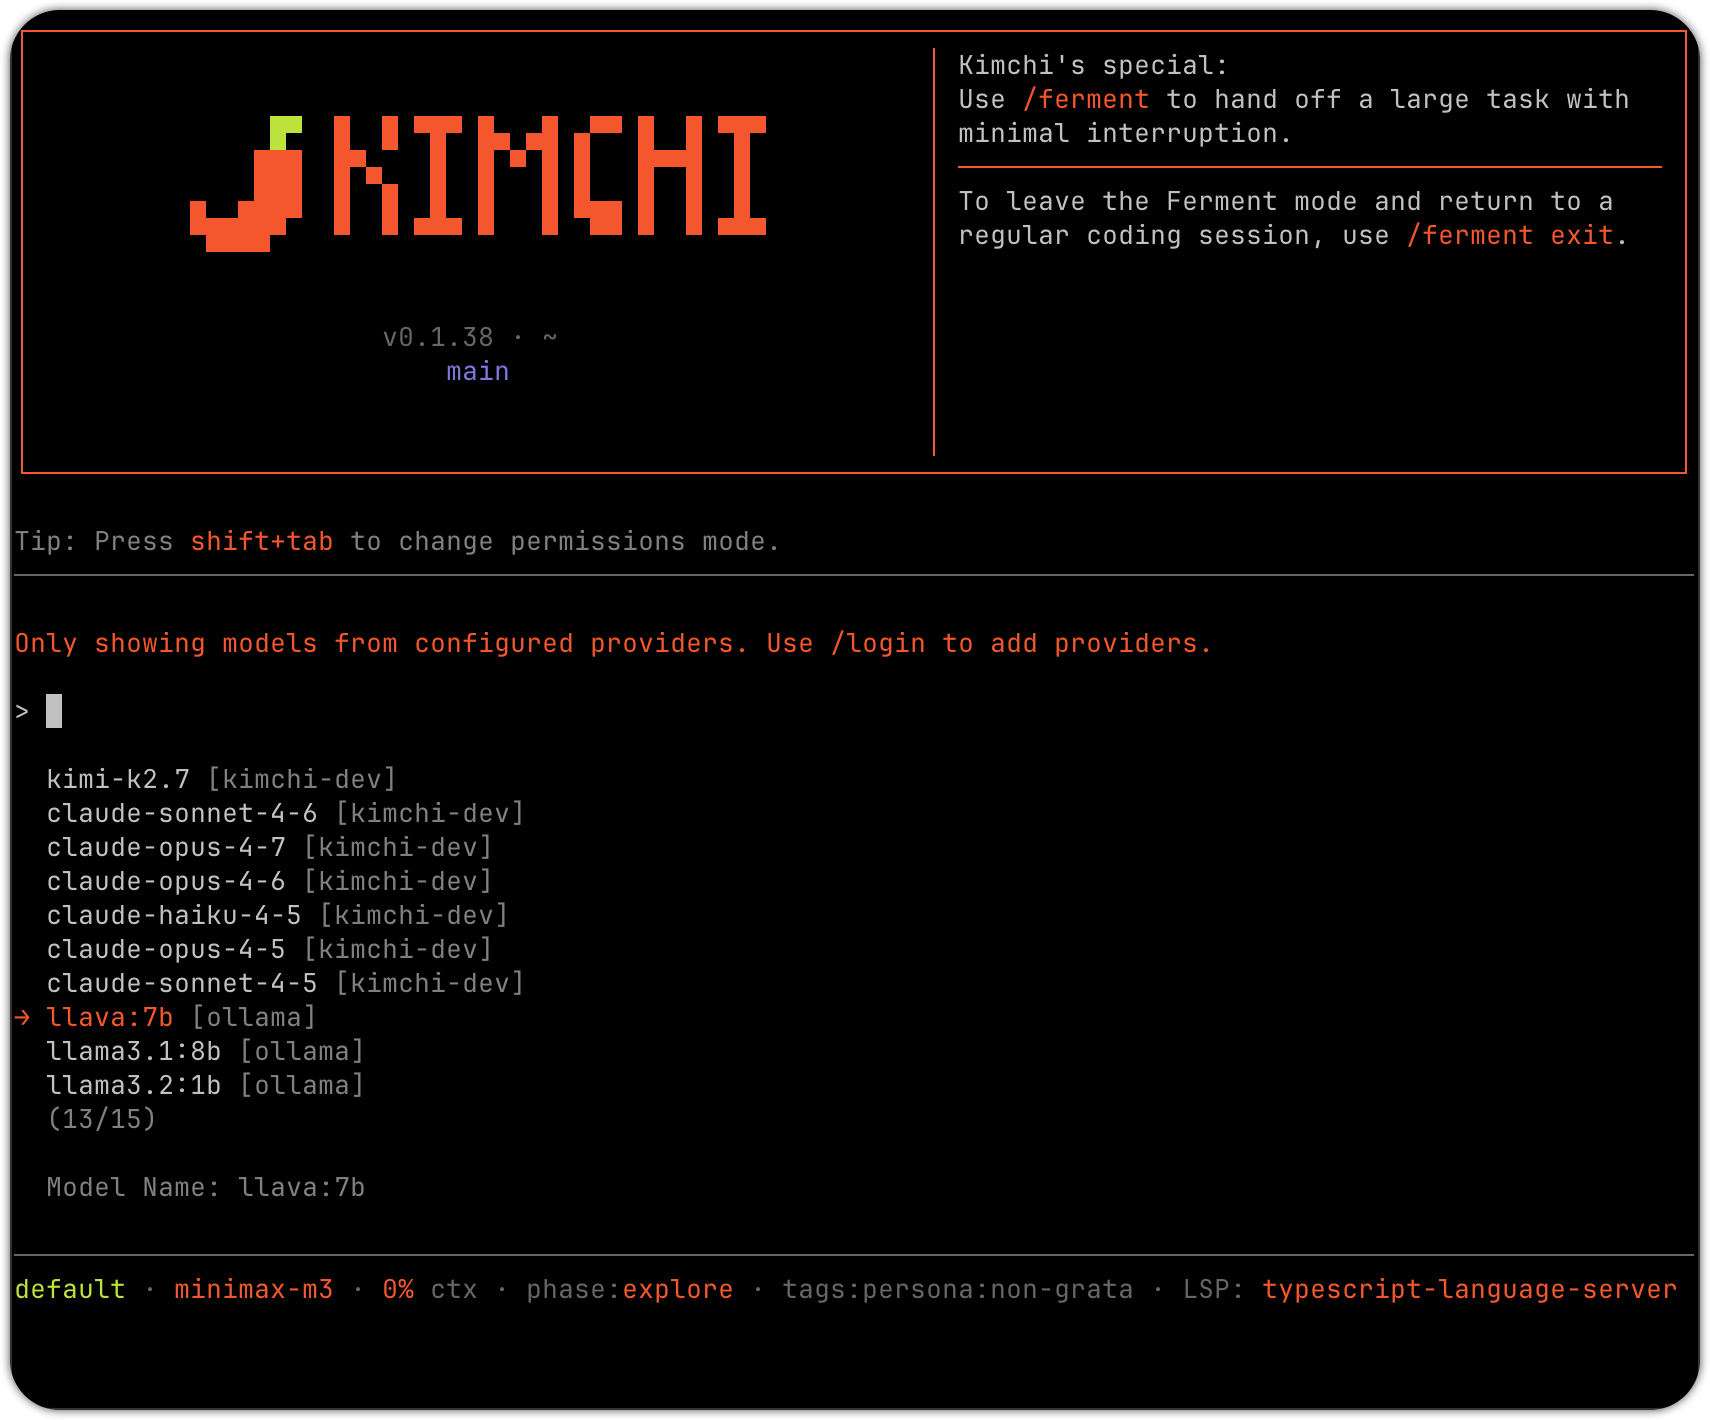
This is the most direct way to use a local model.
Multi-model role assignment
When Kimchi runs in multi-model mode, it automatically includes discovered Ollama models in the explorer, reviewer, and builder role pools. This happens at startup without any configuration — keeping Ollama running is all that's required.
Ollama models are never assigned to the orchestrator, planner, or judge roles.
What to expect
Once Kimchi discovers your Ollama model:
- It appears in
/modelpicker asollama/<model-name> - It is registered in
~/.config/kimchi/harness/models.jsonunder theollamaprovider - It is available in the explorer, reviewer, and builder pools for multi-model tasks
- When Ollama goes offline, the model is automatically removed from
models.jsonon the next startup
Next steps
Updated 6 days ago