

Skills
Invoke harness skills from the Studio chat input with /skill: commands, and import your existing skills from other AI coding tools.
Skills are reusable instruction packages that teach the Kimchi agent specialized behaviors. For example, "review this like a security audit" or "generate tests for this module". Because Kimchi Studio runs the same harness as the CLI, every skill installed for the harness works in Studio too.
Invoking skills from the chat input
In any chat, type / in the chat input to list the skills available to the session. Selecting one inserts a /skill:<name> chip into your prompt, which makes it explicit that the agent should load and follow that skill for the request.
Add your instruction around the chip and send. The agent picks up the skill's instructions and applies them to the task.
Where skills come from
Skills appear in Studio automatically, so you don't have to enable or import anything to use them. The harness scans several locations on your machine, and every skill it discovers becomes available as a /skill: command in the chat input:
| Location | Available in |
|---|---|
~/.config/kimchi/harness/skills/ | Every session. The writable root you manage from Settings → Skills. |
.kimchi/skills/ in the session's project (or any ancestor directory) | Sessions working in that project. |
.claude/skills/ and .pi/agent/skills/ in the session's working directory | Sessions with that working directory. Useful when you share a repo with users of other tools. |
| Bundled skills shipped with the harness | Every session, out of the box. |
If the same skill name exists in several locations, the project-level one wins, then the working-directory locations, then the harness directory, then bundled.
Each skill is one directory containing a SKILL.md file whose YAML front matter carries at least a name and optionally a description. See Skills and Project Rules for the full file format and how to author your own skills.
Manage skills in Settings
Settings → Skills lists the skills installed in the harness directory (~/.config/kimchi/harness/skills/) with each skill's name, description, and last-updated date. Skills from the other locations listed in Where skills come from don't appear here. From here you can:
- Search the list with the filter box in the header.
- Add a skill: see Add a skill.
- Reveal a skill in your file manager (Finder on macOS, Explorer on Windows) from the row action. Use this to edit or delete it.
Studio watches the skills directory, so skills added through the CLI or by hand also appear here without a restart.
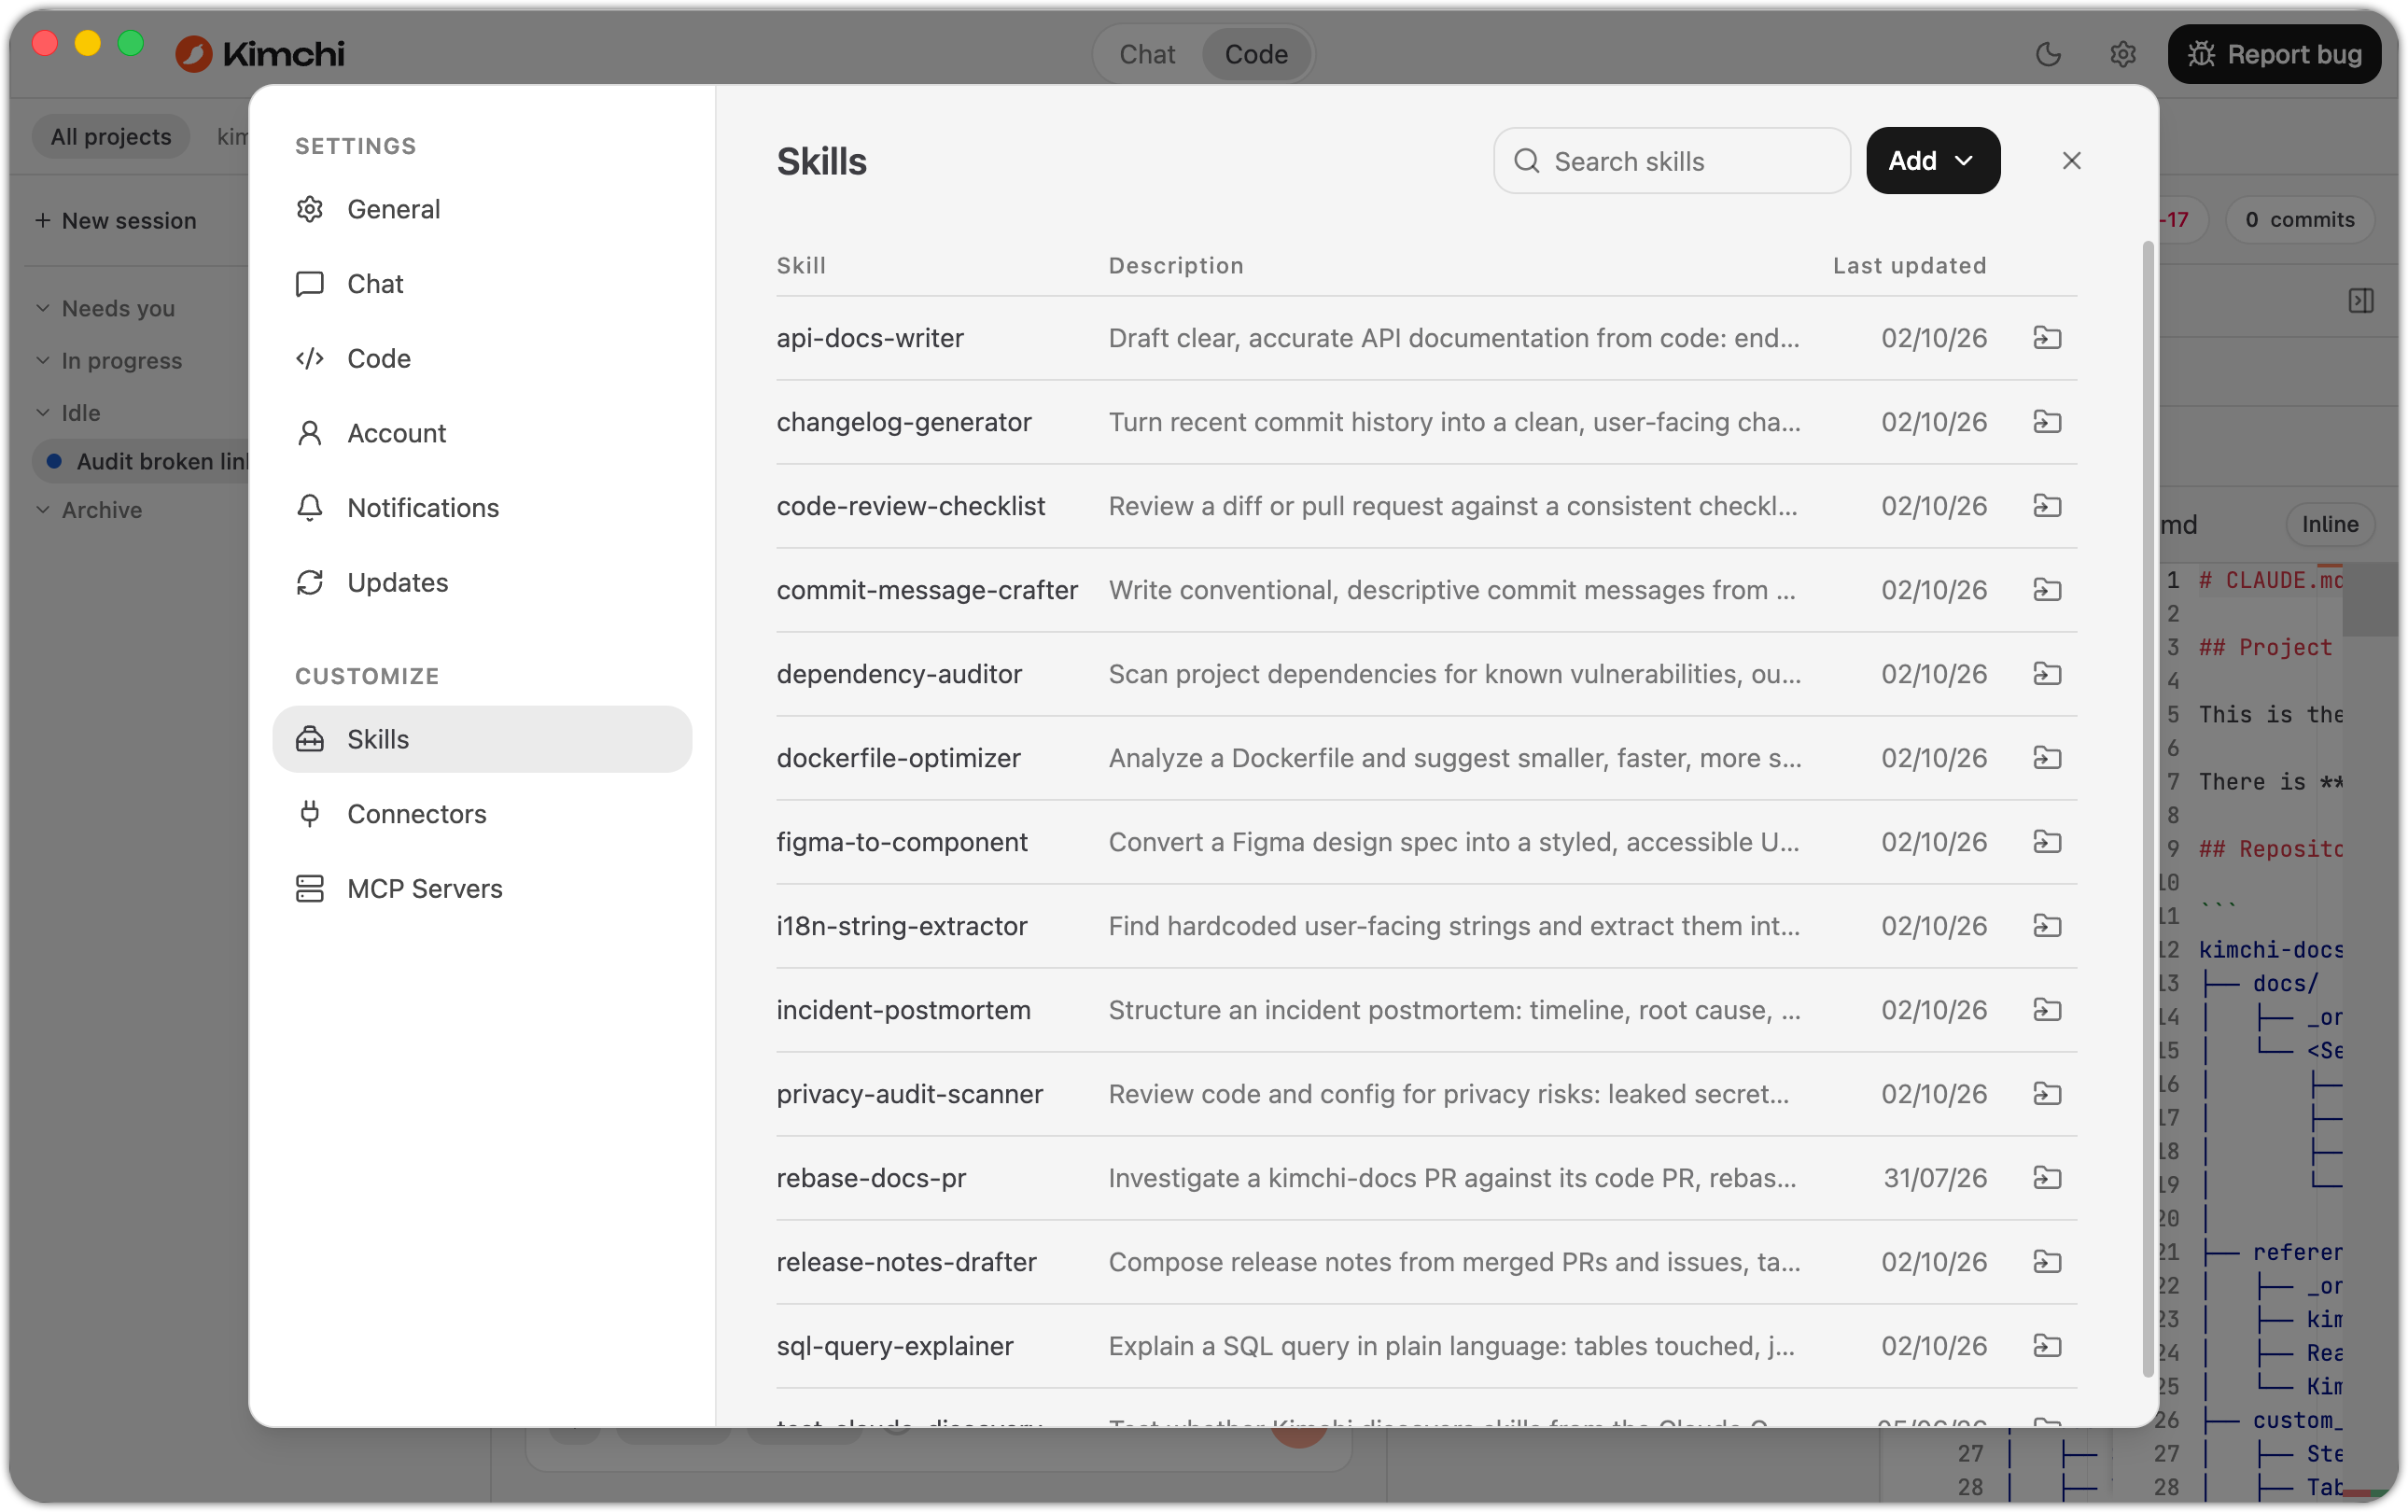
The installed-skills list, with the search box and the Add menu in the header.
Add a skill
Click Add → Upload from computer and use the file picker to select skills from your machine. The picker accepts three kinds of selection, and you can pick several at once:
- A skill directory that contains a
SKILL.mdfile. Studio copies the whole directory in. - A single markdown file (
.md). Studio wraps it in a directory named after the file and installs it as a proper skill. - A folder holding several skills, with no
SKILL.mdof its own. Studio scans it one level deep and installs each skill directory and loose.mdfile it finds.
Studio installs each picked skill into the harness skills directory (~/.config/kimchi/harness/skills/). It works in every session, and in the CLI and VS Code extension too. If a selection fails, Studio installs the rest and names the ones it skipped.
A skill is a markdown file that starts with a YAML
---front matter block. Give the block anamefield, and ideally adescription. Skill names must be unique, so you can't upload one whose name collides with an installed skill from a different directory. Re-uploading a skill updates it in place: upload again to apply your edits.
Studio skips any symbolic link in a selection, so a skill that links out to files elsewhere isn't copied. To author a skill from scratch, ask the agent in a chat, or follow Skills and Project Rules.
Import skills from other AI apps
If you already have a skill library in another AI coding tool, Studio can bring it over automatically:
- During onboarding: the first-launch flow scans your machine and discovers skills, for example from
~/.claude/skills/or project-level skill directories. It lets you select what to import. - Any time after: open Settings → General → Import from other apps. This re-runs the scan so you can import additional items.
Alongside skills, the same import flow brings over your MCP server configurations.
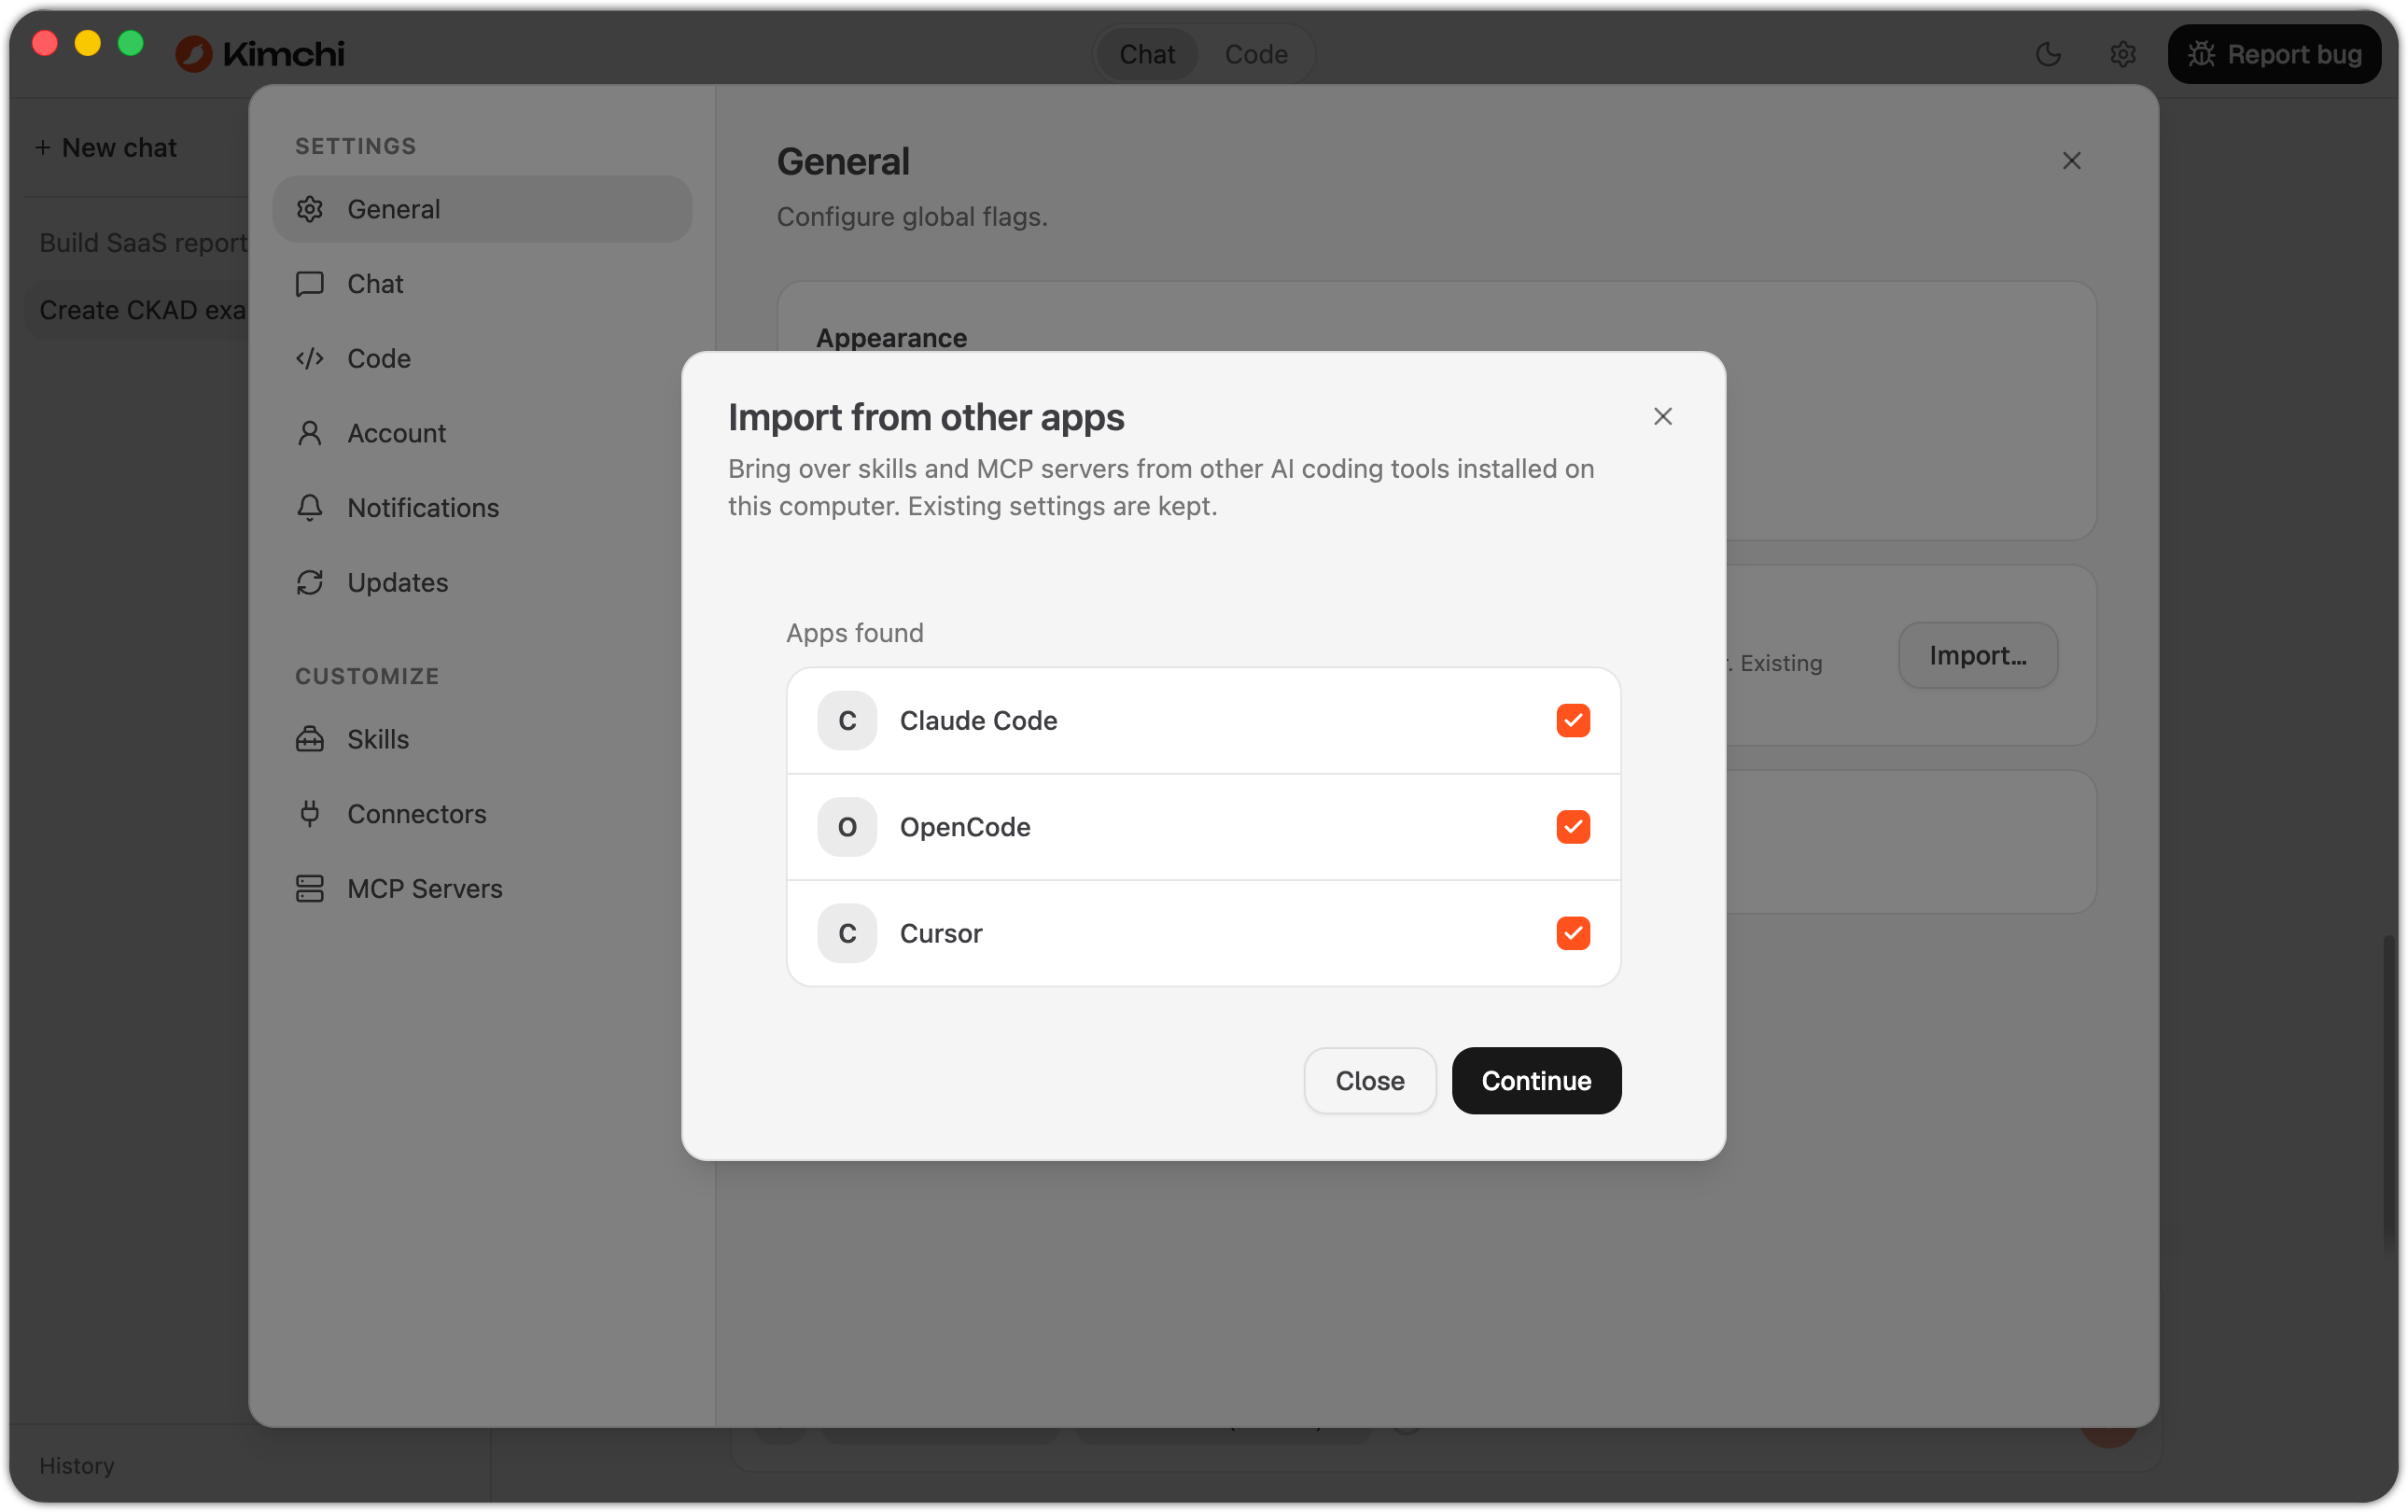
Studio scans your machine and lists the AI coding tools it found skills and MCP servers to import from.
What's next
Updated 9 days ago